Learning shoulder actions for side plank pose
On page cat links
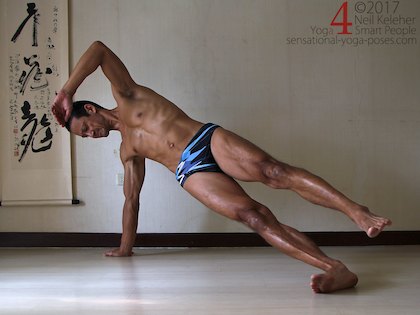
To make learning to use the shoulder in side plank easier I have students start with both knees bent and with the hips resting on the floor.
On page cat links

To make learning to use the shoulder in side plank easier I have students start with both knees bent and with the hips resting on the floor.
Doing side plank with the knees and elbow bent gives the pose a shorter base making it easier to lift the hips. It also makes the base of the pose less narrow front to back, removing the balance component from the pose.
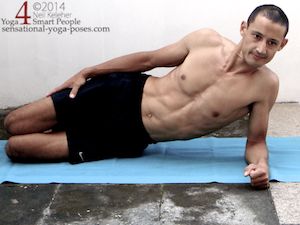
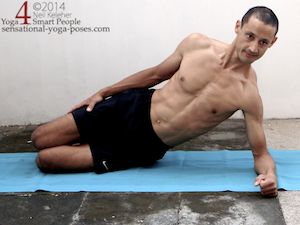
So that the shoulder is more likely to be stable, the action you can practice is to press your forearm (or hand) into the floor so that your ribcage moves upwards, away from the floor.
This action uses the serratus anterior muscle.
If you have difficulty with this action it may help if your first lengthen your neck and open the front of your ribcage. This action helps to stabilize the ribcage and gives the muscles that lift it a stable foundation from which to work. Alternatively, try making your hand, forearm and elbow strong instead. In either case you give your shoulder muscles a steady foundation.
Note that instead of lifting the pelvis, the goal is to only lift the ribcage. With the pelvis on the floor, this means that there is less weight for the shoulder to lift making this action easier to do.
The next step is to learn how to use the hip. In this case the knees are still bent. After first activating the shoulder to lift the ribcage, next press the bottom knee down into the floor to lift the pelvis.

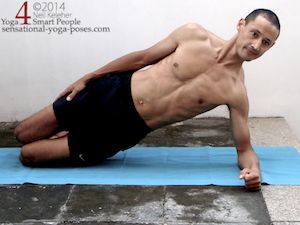
You may notice a feeling of "muscle activation" at the side of the bottom most hip and maybe even along the outside of the bottom-most thigh. Slowly lower, then relax the shoulder and repeat.
Note that you don't have to lift your pelvis all the way up. You could focus on gradually increasing knee pressure to the point that your hip is just about to lift off of the floor. You could then add just enough pressure to lift your hip an inch off of the floor. Then touch it back down to the floor. Pause before relaxing.
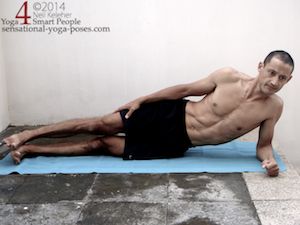
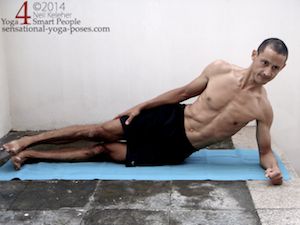
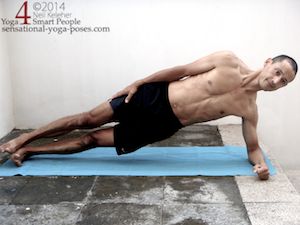
The next step is to try it with knees straight.
For the next variation you can try it with the elbow straight or bent.
As before, first use the shoulder to lift the ribcage.
Next, activate the feet and ankles so that they feel strong. This can feel like you are stiffening the foot. Your foot might still be lifted because of your calf muscle. That's fine.
What's more important is making your foot and ankle stable.
To make balancing in side plank easier, you need your foot to be strong and stable versus relaxed and floppy. This is a large part of what will make balancing easier in this pose.
With the foot and ankle active and strong, next press the outside edge of that foot down into the floor. It may take you a couple of goes to get this.
When pressing the blade of your foot down try to press it down so that the front part has the same amount of pressure as the back part of the foot.
To get pressure even all along the outside edge of your foot, move your hips forwards or backwards. What you should find is that if you move your hips forwards, the front of the foot will press down more. If you move your hips backwards the back of the foot will press down more.
In the pictures below I've doing side plank with the elbow straight and hand (and foot) on the floor. But notice:
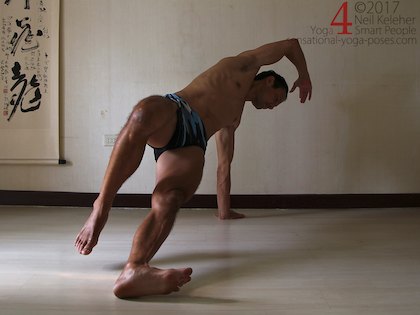
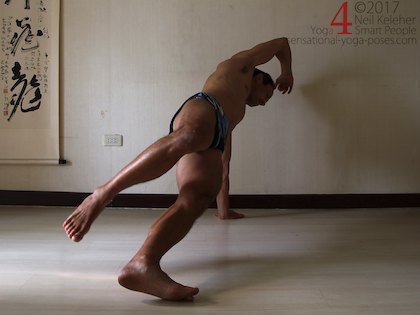
When moving your hips forwards or backwards, make the movement very very small. You'll only need to move your hips a short distance forwards or backwards to change the way that your foot presses into the floor.
Once you find the position where foot pressure is even, then work at preventing your hips from moving backwards or forwards.
Now if up until this point you were practicing on your forearm, now try it with your elbow straight.
Now if you new to Side plank, one of the challenges you may have is getting your hips up with the knee (and elbow) straight.
One way around this is to use your top leg to help as in the pictures below.
In the first picture I'm using my top leg to lift my hips. In the second picture my bottom foot is on the floor so that I can use it to keep my hips lifted.
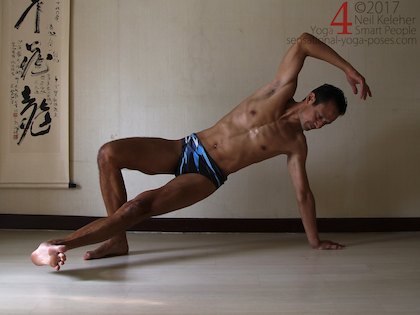
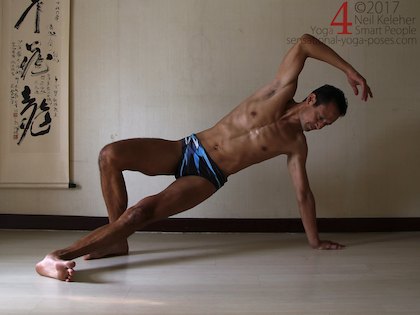
For this variation you might find it easier if you start with your top foot on the floor behind your bottom leg.
Use your top leg or both legs to lift your pelvis. From here:
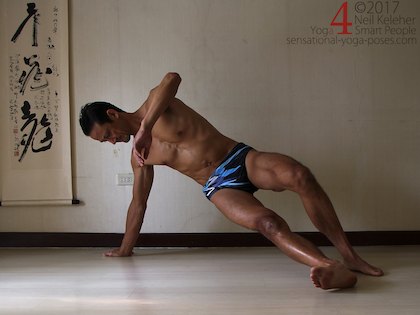
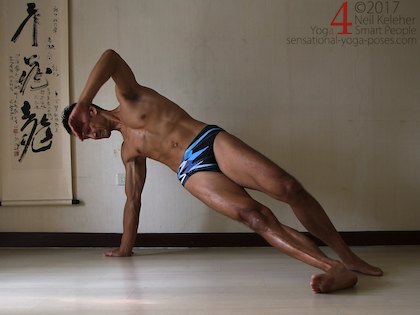

You may find that your top leg relaxes, in which case you can then lift that foot. If you can't then first, make sure that you have shifted your weight far enough forwards, then make sure that you are pressing the bottom foot strongly into the floor.
Note, so that you stay balanced in side plank when lifting the top leg, stay aware of the way the outer edge of the bottom of your foot presses into the floor.
For more on learning to stabilize your shoulder blades read scapular awareness.
For more on shoulder awareness, flexibility and control read the ebook shoulder yoga.
